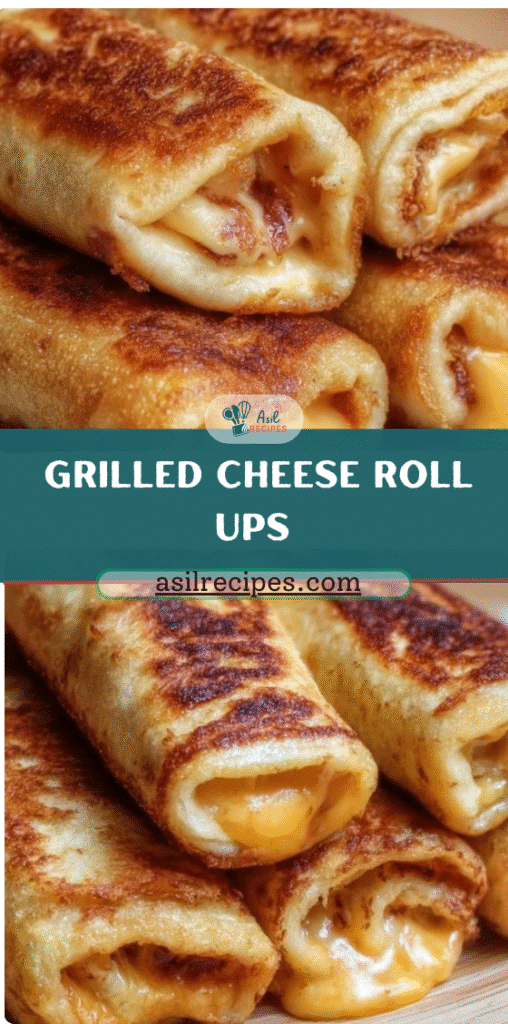
The Perfect Snack or Comfort Food Bite – Easy, Cheesy, and Fun to Make
Grilled Cheese Roll-Ups take the classic comfort of a grilled cheese sandwich and transform it into a handheld, bite-sized delight. Golden, crispy bread wrapped around perfectly melted cheese makes them ideal as a snack, appetizer, or quick meal. The beauty of this recipe is its simplicity: soft bread, your favorite cheese, a touch of butter, and optional seasonings create a snack that’s universally loved.
Whether you’re feeding kids after school, prepping party appetizers, or indulging in a late-night cheesy treat, these roll-ups are fast, fun, and satisfying. Flattening the bread and rolling it tightly ensures a neat, gooey center while allowing the exterior to crisp beautifully during grilling.
This guide will walk you through professional tips for achieving perfectly rolled, golden-brown, cheesy delights every time, along with variations, storage tips, and FAQs.
Ingredients
Bread:
- 8–10 slices soft white sandwich bread (crusts removed)
- Tip: Soft and fresh bread works best. Wonder Bread or similar brands are ideal. Whole wheat can be used if it’s soft and pliable.
Cheese:
- 8–10 slices of melting cheese (choose one or mix and match):
- Cheddar (medium or sharp)
- American Cheese
- Monterey Jack
- Colby Jack
- Provolone
- Optional: Shredded cheese can be used, but slices are neater for rolling.
Butter:
- 4–5 tablespoons unsalted butter, softened or melted
- Optional: Salted butter can be used; reduce additional salt in seasonings.
Optional Seasonings:
- 1/4 teaspoon garlic powder (mix with butter)
- Pinch of paprika (on cheese for color and smoky flavor)
- Sprinkle of dried Italian herbs (for Mediterranean flair)
Preparation Method
Follow these steps for perfectly crispy, melty Grilled Cheese Roll-Ups.
Step 1: Prepare the Bread
- Remove crusts from each slice of bread using a sharp knife.
- Place one slice on a clean surface and use a rolling pin to flatten it as thinly as possible (1/16–1/8 inch thick). Roll in multiple directions for even thickness.
- Repeat with all slices.
Pro Tip: Proper flattening prevents tearing and ensures tight, compact rolls.
Step 2: Add the Cheese
- Place a slice of cheese along one edge of the flattened bread, leaving a small 1/4-inch border.
- If desired, sprinkle optional seasonings (paprika, herbs) over the cheese.
- For shredded cheese, add a thin, neat line to avoid overfilling.
Tip: Trim slices of cheese if they extend beyond the bread edges to prevent leakage during grilling.
Step 3: Roll ‘Em Up
- Starting at the cheese edge, tightly roll the bread into a compact cylinder.
- Ensure the seam is sealed. If it starts to unroll, pinch gently or place seam-down while preparing the others.
Step 4: Butter the Rolls
Method 1 – Melted Butter:
- Brush melted butter evenly over the exterior of each roll-up using a pastry brush.
Method 2 – Softened Butter:
- Spread a thin, even layer of softened butter over the rolls.
Tip: Butter ensures a golden, crispy exterior and adds rich flavor.
Step 5: Grill to Perfection
- Preheat a non-stick skillet or griddle over medium-low to medium heat. Avoid high heat to prevent burning.
- Place the buttered roll-ups seam-side down in the skillet, cooking in batches if necessary.
- Cook 2–4 minutes on the first side until golden brown and crispy.
- Using tongs, rotate to cook all sides (1–2 minutes per side), until fully golden and the cheese is melted.
- Cheese may ooze slightly—this creates crispy, flavorful edges.
Pro Tip: Moderate heat ensures the bread crisps without burning while the cheese melts fully.
Step 6: Serve Immediately
- Remove roll-ups from the skillet and place on a serving plate.
- Serve hot for the best texture: crispy bread and gooey, melty cheese.
Optional Serving Ideas:
- Serve with ketchup, marinara, ranch, or mustard for dipping.
- Sprinkle a touch of paprika or dried herbs on top for visual appeal.
Professional Tips
- Soft Bread is Key: Fresh bread rolls easily without tearing.
- Tight Rolls: Ensure compact rolling for neat, gooey centers.
- Butter Evenly: Coats the exterior for perfect crispness.
- Monitor Heat: Medium-low heat allows even cooking without burning.
- Serve Hot: Crispy bread and melted cheese are at their best right off the skillet.
Variations
- Spicy: Add a dash of cayenne pepper to the butter.
- Herbed: Sprinkle dried oregano or basil inside or over the rolls.
- Cheese Combo: Mix cheddar with provolone for a stretchy, flavorful center.
- Breakfast Style: Add a thin slice of ham or turkey inside for a savory breakfast roll-up.
Nutrition
- Serving Size: 1 roll-up
- Calories: 350–450 kcal (depending on cheese type and butter used)
- Fat: 18–25 g
- Protein: 10–15 g
- Carbohydrates: 25–30 g
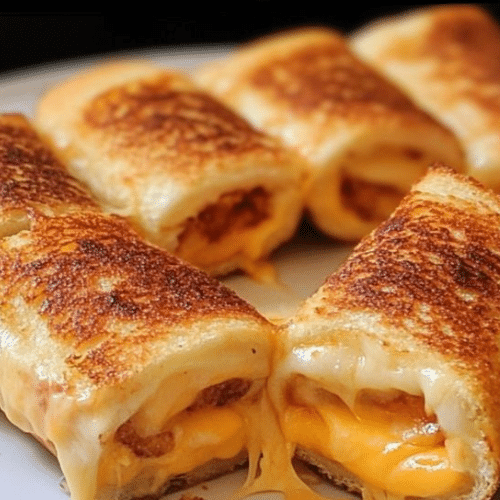
Grilled Cheese Roll-Ups – Gooey, Crispy, and Irresistible
Golden, crispy grilled cheese roll-ups with gooey melty cheese inside. Perfect for a quick snack, lunch, or fun appetizer.
- Prep Time: 10 minutes
- Cook Time: 5–8 minutes
- Total Time: 15–18 minutes
- Yield: 8–10 roll-ups
- Category: Snack, Appetizer
- Method: Pan Fry
- Cuisine: American
Ingredients
- 8–10 slices soft white sandwich bread (crusts removed)
- 8–10 slices cheese (Cheddar, American, Monterey Jack, Colby Jack, or Provolone)
- 4–5 tbsp unsalted butter, softened or melted
- Optional seasonings: 1/4 tsp garlic powder, pinch of paprika, sprinkle of dried Italian herbs
Instructions
- Remove crusts from bread and flatten slices with a rolling pin to about 1/16–1/8 inch thickness.
- Place one slice of cheese along the edge of each flattened bread. Sprinkle optional seasonings.
- Roll the bread tightly into cylinders. Seal the edges if needed.
- Brush or spread butter evenly over the outside of each roll-up.
- Heat a non-stick skillet over medium-low to medium heat. Place roll-ups seam-side down and cook in batches.
- Cook 2–4 minutes on first side until golden, then turn and cook 1–2 minutes per side until all sides are golden and cheese is melted.
- Serve immediately while hot and crispy.
Notes
- Best served immediately for crispy bread and melty cheese.
- Use fresh soft bread for easier rolling.
- Optional seasonings add extra flavor and color.
Frequently Asked Questions (FAQ)
1. Can I use whole wheat or gluten-free bread?
Yes, as long as the bread is soft and pliable.
2. Can I use shredded cheese?
Yes, but avoid overfilling. Slices roll more neatly.
3. How do I prevent cheese from leaking?
Trim cheese to fit inside the bread and roll tightly with the seam underneath.
4. Can I make these ahead of time?
Assemble them in advance, but grill just before serving for best crispness.
5. Can I bake them instead of skillet grilling?
Yes, bake at 375°F (190°C) for 10–12 minutes, turning halfway, until golden and melted.
6. Can I freeze them?
Yes. Freeze unbuttered rolls on a tray, then transfer to a bag. Grill from frozen, adding a few extra minutes.
7. Are these kid-friendly?
Absolutely. Crispy, cheesy, and fun to dip—perfect for kids and adults alike.
8. Can I add extras inside?
Yes. Ham, turkey, or cooked veggies can be added sparingly.